Obviously, it is important to do inspection on the purchased cartridge filter housings.
But how to do it?
Follow below tips and we will help you to inspect as a professional expert!
Lets figure it out from outside to inside.
1. Packing checking
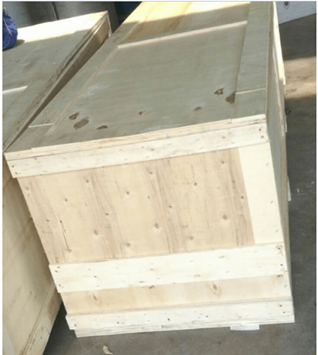
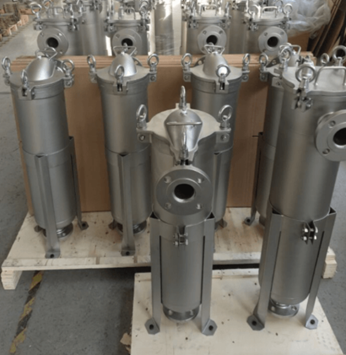
Stainless steel cartridge filter housings after fabrication are normally packed into paper cartons or wood cases.
Packings have to be rigid and strong themselves to endure accidental pressure during shipment.
We also need to make sure the cartridge filter vessels cannot move or shake inside the packing.
Otherwise, during long journey of transportation, damages have chance to be caused onto the cartridge filter housing product and affect future filtration performance.
What's more, packing membrane has to be covered onto the housing filter all around before being put into the carton/case. Scratches can be avoided to keep the filters in good status when customer receive the goods.
One more tip that when your cartridge filter housings are with outside painting, please check with supplier if they have put one more extra small tank of painting inside the packing. There might be some marks or defects caused on the surface finishing when unload the cartridge filter housing to the operation site. It will be easy to fix the problem if you have same color painting stand by. Such convenience will also help you to gain more satisfaction from your cartridge filter housing end users.
2. Product checking
2.1 Hydro test report
Each cartridge filter housing after welding will go through a hydro test under a pressure even larger than design pressure for a fixed period.
It is to make sure no leakage and complete integrity sealing under expected operation environment.
Don’t forget to get this test report or even the testing video documents.
It is essential and critical.
With it, it will be easy for you to convince your clients
2.2 Welding procedure quality inspection
Communicate with fabricator if reasonable root opening left before welding.
Root openings that are too tight can cause inadequate root penetration.
Root openings that are too large can cause over- penetration.
Communicate with fabricator if groove angle made before welding.
Groove angles, if too small, may cause lack of fusion, and if too large, can result in distortion of the weld joint from overheating and excessive shrinkage stress.
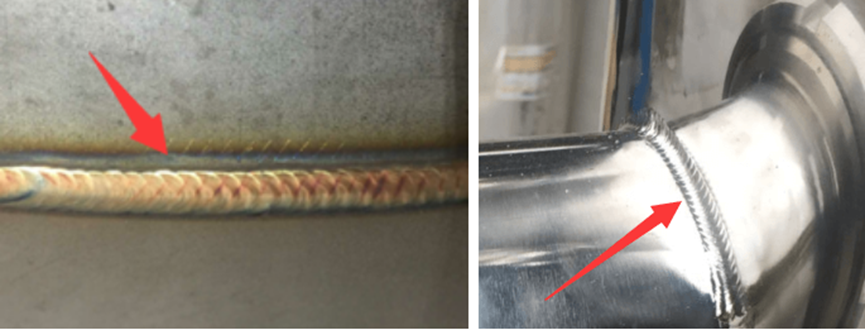
Check the physical appearance of the weld seam.
Good weld seam is continuous, average and neat like fish scale.
Cautions need to be paid on the surface discontinuities. It might represent other discontinuities within the body of the weld.
The most common welding discontinuities found during visual inspection are conditions such as undersized welds, undercut, overlap, surface cracking, surface porosity, under fill, incomplete root penetration, excessive root penetration, burn through, and excessive reinforcement.
Good welding before surface finishing is gold color as below first picture.
Good welding on final product is in continuous fish scale pattern, as below second picture.
2.3 Cartridge housing filter parameters inspection
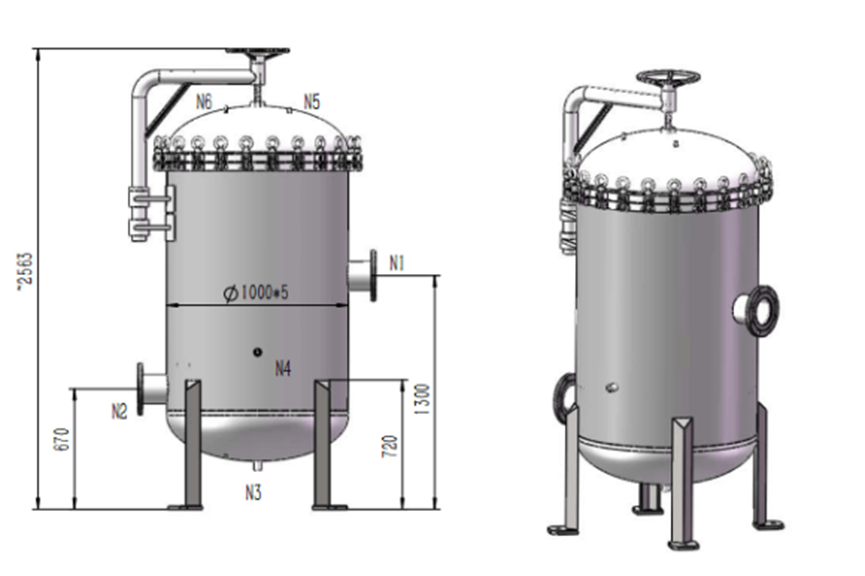
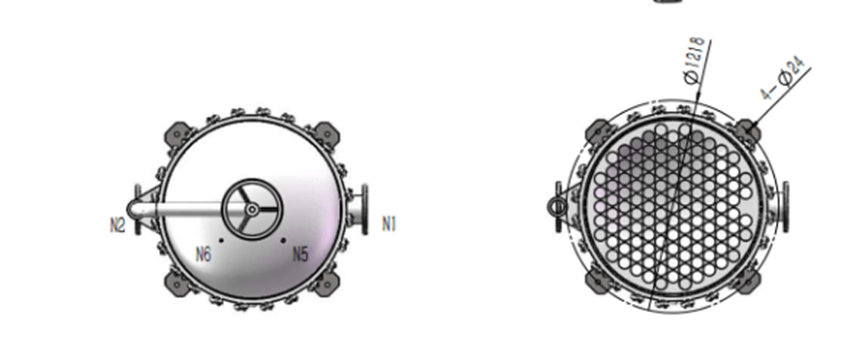
Print out the technical drawing of the housing and cross checking one line by one line.
Make sure the housing is same as the drawing design.
It will include but not limited to:
2.3.1 Material identifying
We need to check the material of the cartridge filter housing, it means we need to identify the material of parts which are contacted with water/liquid for filtration.
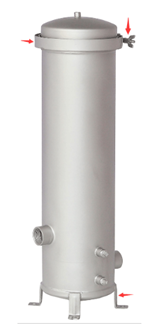
Take stainless steel 316 cartridge filter housings as example, the parts for example body, up closure, bottom closure, in/outlets are stainless steel 316 while the davit arm or the legs might be stainless steel 304, unless customers have deliberate requests that all parts need to be stainless steel 316.
2.3.2 Davit arm or swing arm available or not if needed
Normally Davit arm will be available for housings loading more than 12-15pcs cartridge filters.
But of course, if you prefer, we can actually custom one for any amount of filter cartridges.
2.3.3 Closure design checking: clamp, swing bolt and flange
Clamp for low operation pressure around 4 bar
Swing bolt and flange designs are for higher operation pressure around 6 bar to 7 bar.
But swing bolt will be a little more convenient when open the lid during maintenance.
And another difference is the price.
Swing bolt is more expensive than flange closure, which is because there is more welding work to do such as the swing bolts supports welding, unlike flange design, only holes to need be drilled.
2.3.4 Body diameter and shell thickness.
Body thickness is the main factor defining the MAX design pressure.
The higher pressure needed for a cartridge filter housing, the thicker shell it will need.
2.3.5 In/outlet design and type
Inlets can be side in or top in.
Outlets can be side out or bottom out.
And for side-in-side-out type, it can be on same side or different sides according to customer’s detailed requests on the cartridge filter housings.
And there are flange and thread types for the in/outlet ports of the housing filters.
Customer need to check which country’s standards of the flange ports the fabricator is offering, which can be AISI, JIS or GB, ect.
2.3.6 Seat plates for the cartridge filters.
Different cartridge filters (DOE, SOE 222/FIN, SOE 226/FIN…), there are different seat forms to use
So do make sure it is the correct type for your cartridge filters.
2.3.7 Surface finish checking: painting, acid passivation, polishing and sand blasting.
Above are the inspection tips for you to check a cartridge filter housing product.
If you have even effective ideas, don’t hesitate to bring it up here!
Contact: Jennifer
Phone: 0086-13797077685
E-mail: info@jdfiltration.com
Whatsapp:0086-13797077685
Add: